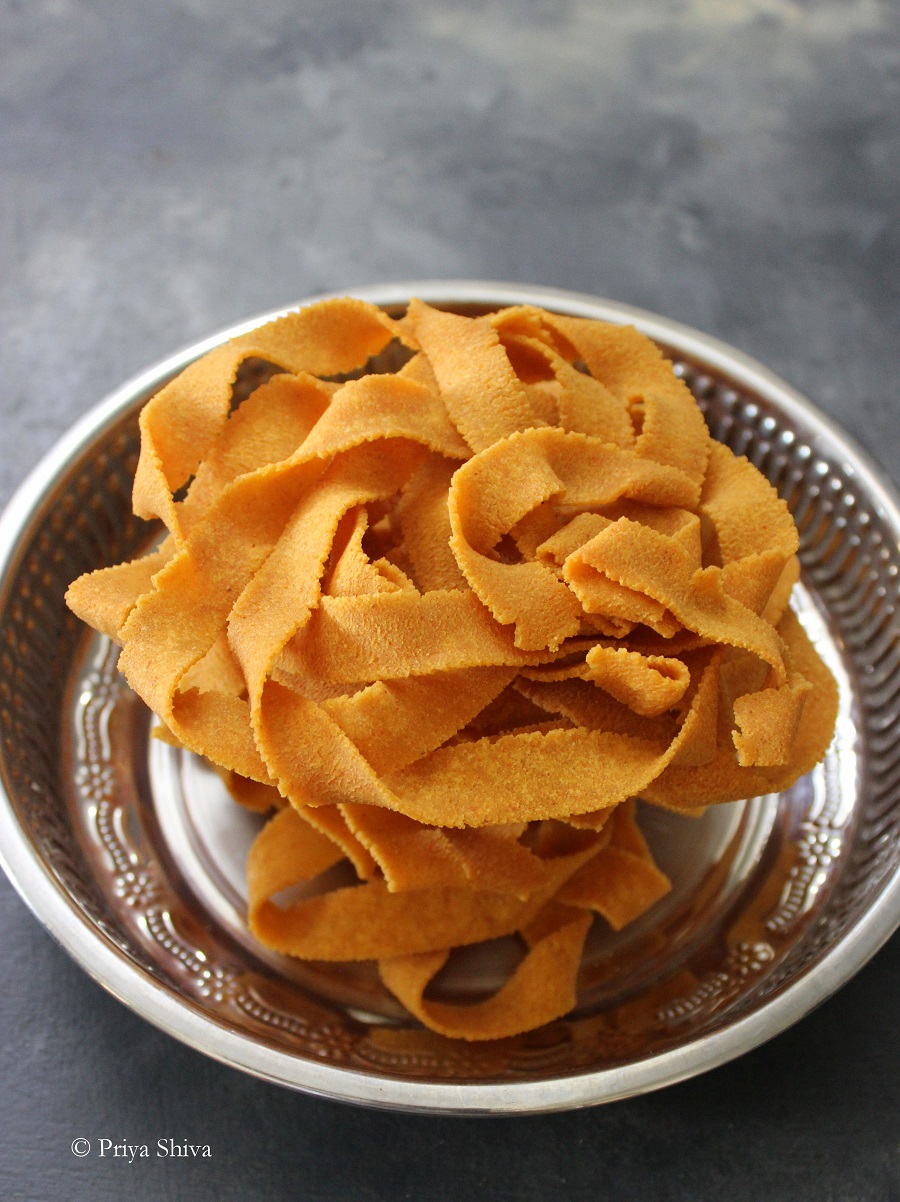
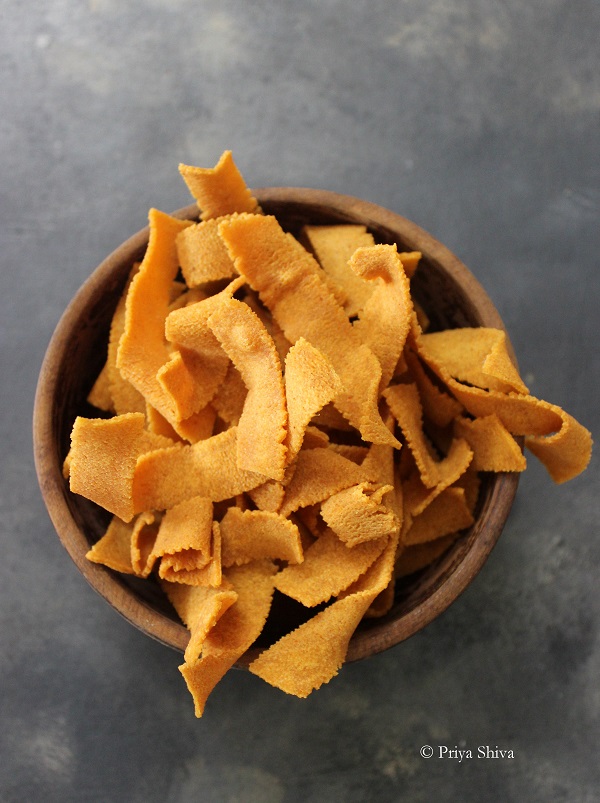
Rainy days always makes me hungry for some crunchy snacks which I love to enjoy with my cup of tea. So, decided to make some ribbon pakodam today. Ribbon Pakoda or ribbon murukku or nada thenkuzhal or ola pakoda is a crunchy snack especially made in South India. Different names but its the same snack.
Watch this video to make Ribbon pakoda at home:
I remember my childhood days, how mom used to make these crunchy snacks and fill a big box with it. The box will get empty and poor amma would have to prepare something again for us. She will never get tired of cooking or complain but keep making things which we loved to eat. So, sharing the recipe of Ribbon pakodam today. Enjoy these crispy, crunchy snack with your family and friends..
You will need the squeezer and the plate which makes ribbon pakoda to make this snack as shown in the video.
You can also check – Sev recipe or Thenkuzhal Murukku
Ribbon Pakoda Recipe
Ingredients
- 1/2 cup Pottukadalai/roasted gram
- 1/2 cup Chickpeas flour/besan/gram flour
- 1 cup rice flour
- 3/4 tsp Salt
- 1 tsp Red Chilli Powder
- 1/4 tsp Turmeric powder
- 1/8 tsp Asafoetida/hing
- 2 tbsp hot oil
- 1 cup water
- Vegetable oil for deep frying
Instructions
-
Grind roasted gram to make a powder of it.
-
Sift roasted gram flour, chickpeas flour, rice flour, red chilli powder, turmeric powder, asafoetida, salt all together.
-
Transfer in a mixing bowl.
-
Add 2 tbsp hot oil and mix well. The texture of the flour will become crumbly.
-
Now slowly start adding water to make a soft dough. I took 1 cup of water. You can dd more water if required.
-
Heat oil for deep frying in a frying pan. To check if the oil is warm, drop a small piece of dough into the oil. If it comes on top immediately, the oil is warm for frying.
-
Add a portion of dough in the ribbon pakoda maker and use the ribbon pakoda plate as shown above in the video.
-
Close the machine and slowly press it and move in a circular motion above the oil and make a round layer.
-
When it starts turning light golden brown, flip it carefully using a ladle.
-
When it turns golden brown on both sides, drain excess oil and follow the same procedure for rest of the dough.
-
Let it cool down completely before storing them in an air-tight container.
Recipe Notes
- Keep the flame on medium flame.
- You might have to adjust the flame or lower it the oil starts getting smoky.
- You can even add finely chopped onions or sesame seeds or pepper too in the dough as it adds to the flavour.
love ribbon pakoda anytime
So yummy! My mom always makes them during diwali 😉
These look like great recipes Priya! Rainy days make me hungry too!
Clovia Hamilton
http://lemongrassplanning.com/
These are fantastic Priya. Love all your recipes on the blog, these is always something new to learn. I don't have a ribbon pakoda maker, but can cut them manually.
They look so delicious!
love to munch on these any time. Looks yumm..
Looks yummy ,would like to try 🙂
Ok this I must have sound yummy. I love crunchy foods too. Thank you
Now I've learned about a new snack and new machine! Thanks for sharing on #theWeekendSocial. I'm off to pin.
Crunchy crisspy yummy recipe thank you
Thank you 🙂
This is my go-to snack when I’m craving something crunchy and with flavor, and this recipe is fabulous! A keeper!
This is one of my favorite childhood snack. It has been a while I made them at home. Thanks for the step by step recipe – will make them for the family sometime.
This is one of my favorite evening snack. Can’t wait to try this recipe
This looks so delicious and tasty! I can’t wait to make this!
I love this! So flavorful and really delicious!
You have told your very good method, but you can also include something else like grinding cashew with little pain